This year I build a spider and three toadstool decorations for the front yard. This post is about the building process for each item.
The spider: Shelob
I wanted to create a reasonably large spider, and so I decided to try out paper mache, which I have not done since childhood.
Worked great.
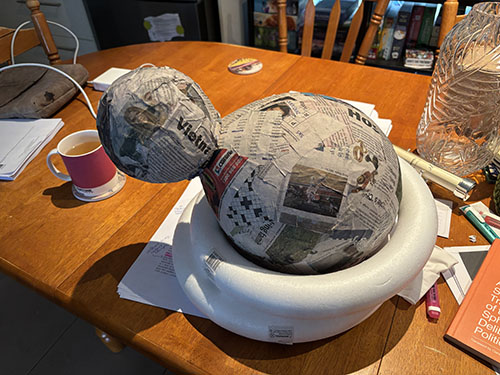
I purchased a pack of balloons from the supermarket, and used the 50% white glue, 50% water mix, and a local newspaper. I built two layers of paper mache, dried them by hanging them on the washing line, and then a day later did another two layers of paper mache. This meant the spider was solidly created, but I could still easily scissor through the shell in order to attach the legs. I attached the head to the body by poking the head *into* the body, and using hot glue on either side to ensure it was solidly affixed.
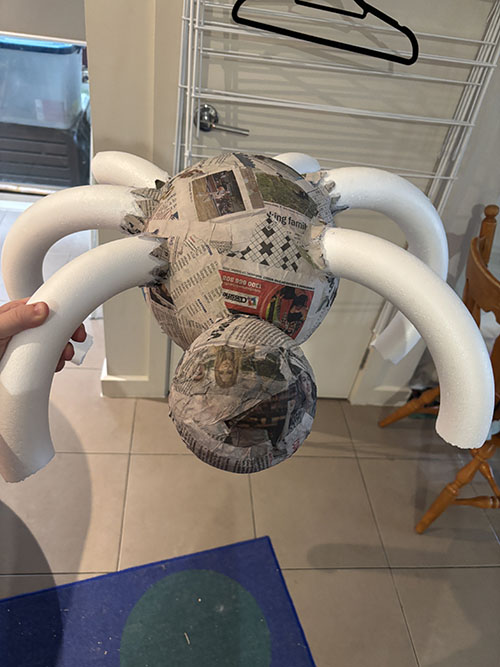
I wasn’t sure on what to use to make the legs, and ended up cutting up a Styrofoam ring. Due to the size, this meant my ‘spider’ has six legs only (something to consider for next time). I attached these by cutting a star shape into each location, sticking the Styrofoam ring through, and then using a hot glue gun to attach the legs, gluing on both sides of the hole to ensure they were attached firmly. Hot glue does not require much time to set, meaning this process did not take very long.
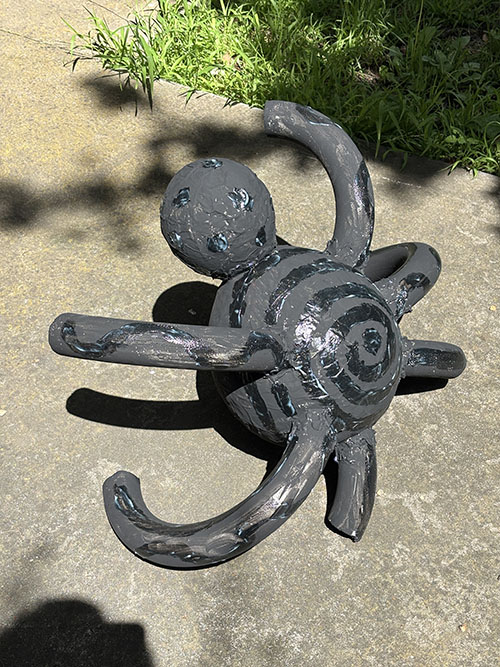
I wanted the spider to be painted black, so I used a cheap acrylic paint for this. I required only a single coat, which dried in the sun in a few hours. Afterward, I applied a glow in the dark paint in two coats, which worked moderately well. I suspect for a good effect, I will need to add additional layers. Lastly, I covered the spider in waterproofing spray, as it would be sitting outside for a few days.
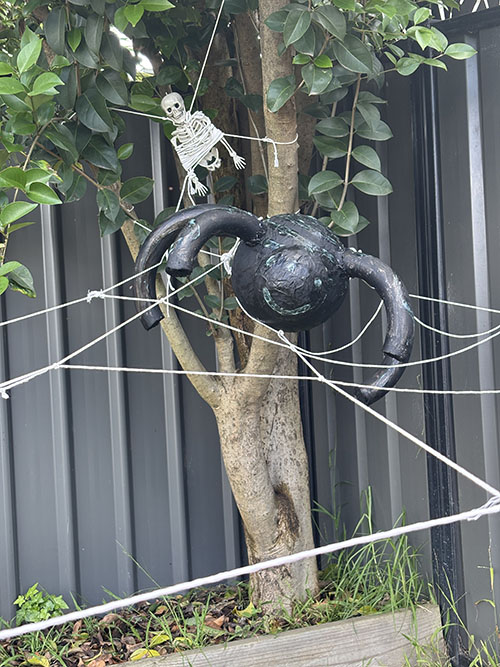
My husband and I built the web using macrame thread, connecting the tree in the front of our yard to our front fence. The spider was placed in the upper middle, attached via macrame string that I glued to the spider’s backside. The skeleton from the previous year was reused as prey within the web.
Overall I feel positive about this creation, with my favourite engagement being a teen slowly walking past after school as we put it up, saying nothing until completely out of vision, and then a single breathy “spider!” acknowledgement.
The toadstools
We wanted something to line the pathway to the door for trick or treaters, and small toadstools seemed a sensible idea. I also tried building a larger mushroom shape, however this was too last-minute and did not use enough layers of paper mache: a lesson for next year!
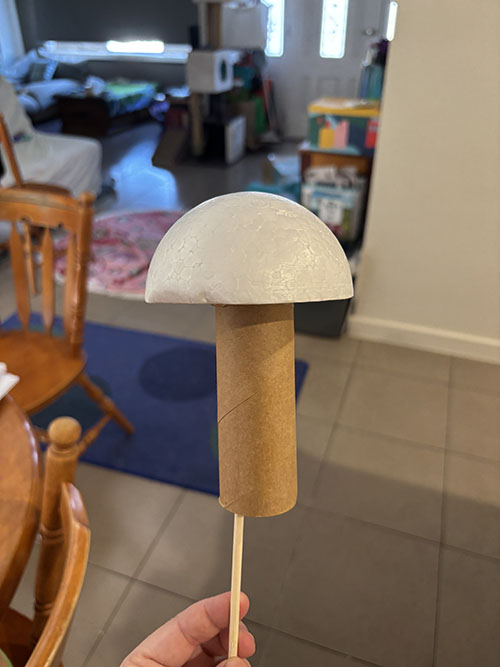
Toadstool manufacture was straightforward: spike the Styrofoam shape with the skewer, then withdraw skewer and pour in hot glue, and add the skewer back. Once dried, apply hot glue to the circular top of the toilet paper roll and carefully position with the skewer inside the roll, affixing the roll to the Styrofoam. Allow to dry.
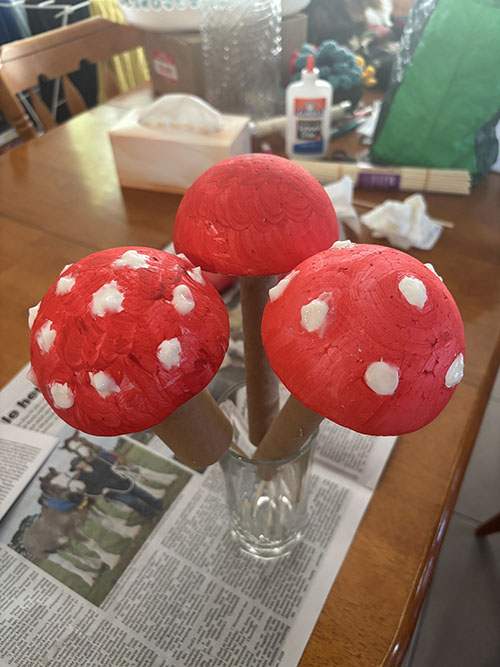
The toadstools were painted with red acrylic paint, either fully or leaving white spots for the glow in the dark paint to be added later. For the fully red toadstool, I painted the underneath with glow in the dark.
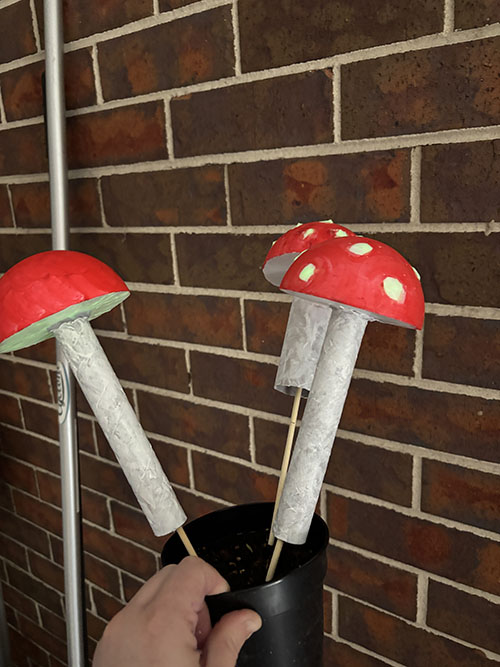
The stems were painted white, left to dry, and then applied the waterproofing spray to the whole creation.
A key learning from this process was to do each stage, allow it to completely dry, and then do the next stage. I often try to do too much too quickly, and ruin my own good work.
I will be packing Shelob up today, along with the toadstools, so they may be used next Halloween. I’ll have to think about what makes sense as the next piece to build; possibly Ungoliant, though that would require a different construction style to paper mache as I’m not sure I could have gotten the balloons larger. Perhaps I could build a wire frame? Something to consider.